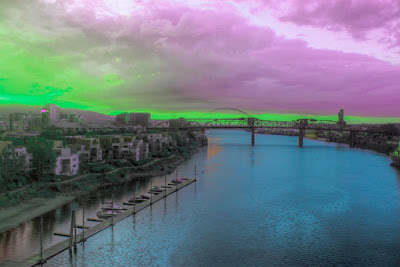
Newer versions of Photoshop have what's called "adjustment layers." It's a feature that automatically creates a layer for each general adjustment you make to the photo. You can find it in the palettes on the right side of the screen when you open Photoshop. This is different from adjusting hue/saturation and that sort of thing from the Photoshop menu bar, because it doesn't permanently alter the pixels. What's great about adjustments layers is that you can change each layer individually to affect the overall photo. For example, you can create a black and white adjustment layer and then adjust its opacity to 50% to get muted colors. Then if you want a certain part of the photo to stand out in color, you can brush in the full-color layer underneath. This technique is somewhat difficult to explain, but let me show you what I mean. Below you'll see an original photo and then two versions I created using adjustment layers:
And here is a photo I really played with using adjustment layers:
As you can see, you can go as conservative or crazy as you want. The fun is playing around with layering the adjustments, changing their opacity, and brushing in (or out) color.
(You can do similar things with Aperture, so I'm going to need to play with these same photos in Aperture to find out the difference. The main difference that stands out immediately is that you can see and adjust each layer in Photoshop, whereas in Aperture what's done is done unless you choose to completely undo the adjustments. Aperture doesn't work in layers.)


No comments:
Post a Comment